> For the complete documentation index, see [llms.txt](https://volunteers.migracode.org/llms.txt). Markdown versions of documentation pages are available by appending `.md` to page URLs; this page is available as [Markdown](https://volunteers.migracode.org/coding-course/course-content/lesson-3-mail-and-a-taste-of-drive.md).
# Lesson 3: Mail and a taste of Drive
## Lesson Outline
In this lesson we cover the following areas:
### Mail
Students will be able to send an email with text and links
### Drive
They will also get familiar with google Drive
## Setup
Make sure all the laptops are either plugged or with the battery full enough to last for 1 hour at least.
Instructor’s laptop is connected to the projector or big screen.
Do the attendance!
## Content
### Recap
Do a recap of what we explained till now. As the students have been taught 2 lessons and they have been learning a lot of concepts which are new to them, let’s spend a reasonable time (10-15 minutes at least) reviewing the main concepts explained till now.
## Mail
Explaining how to send an email should be quite straightforward as they already know how it works in their smartphone.
### Logging into google account
Before starting to use Gmail, ask the students to log into google. This can be usually done by navigating to google.com and clicking to the icon at the right bottom corner.
Might happen that some students don’t remember their password. You can try to follow the steps [here](https://support.google.com/accounts/answer/41078?hl=en\&co=GENIE.Platform%3DAndroid). And if this didn’t work or you have no time, just ask the student to join someone else to work together.
Once they are in, show them the ‘google apps’ button is also at top right corner
And hit the Gmail button.

Once there, show them how to send an email. The students must share their addresses with someone else.
If possible, ask them to send the email to two people. A recipient and a cc
## Drive
Once the emails are sent and received by the other side, let’s move to Drive. Click again google apps’s button and now hit on the Drive icon.
At this point it might happen that some users already have some stuff in Drive whereas for others it is still empty.
### What is it?
Drive is at the end a file system. And a file system is, at very high level, a tool to manage documents and organize them in folders.
Document can be any type: Text, Images, Slides, Spreadsheet, html file, …
### Create new folder
Ask them to create a new folder called Computer Class under their main unit. Try them to do it on their own, guessing how to do it. If they don’t manage, just guide them. Remind them how the right button works.
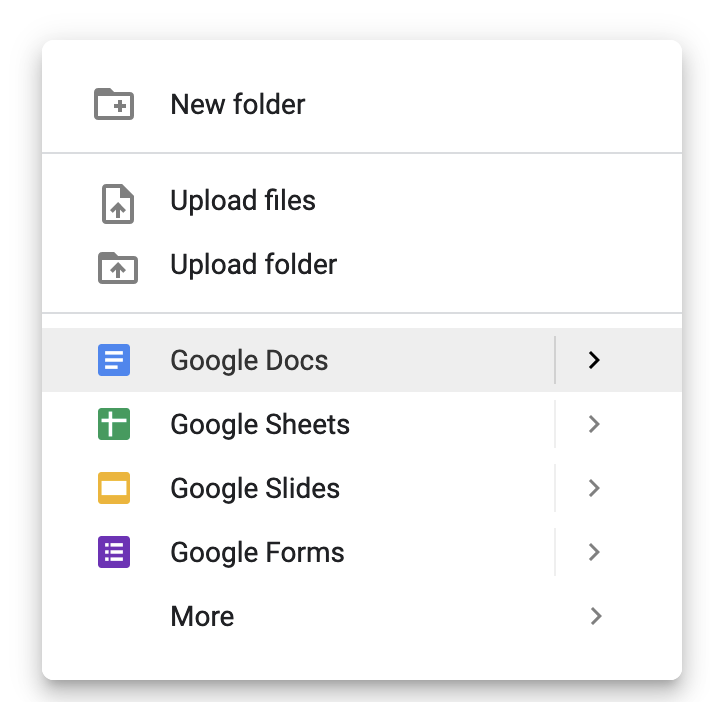
At the end they just are able to right click on the main folder, and then hit the ‘New folder’ option. There are several ways to do it. Either way works.
### Navigate to a folder
Now ask them to go into the new folder. Again give them some time to do it on their own. Tip: refresh their minds with the double click.
### Add a new document
And to finish the lesson, add a new text document or Google doc to the new folder. Right click on the folder’s panel, and then pick the Doc option in blue.
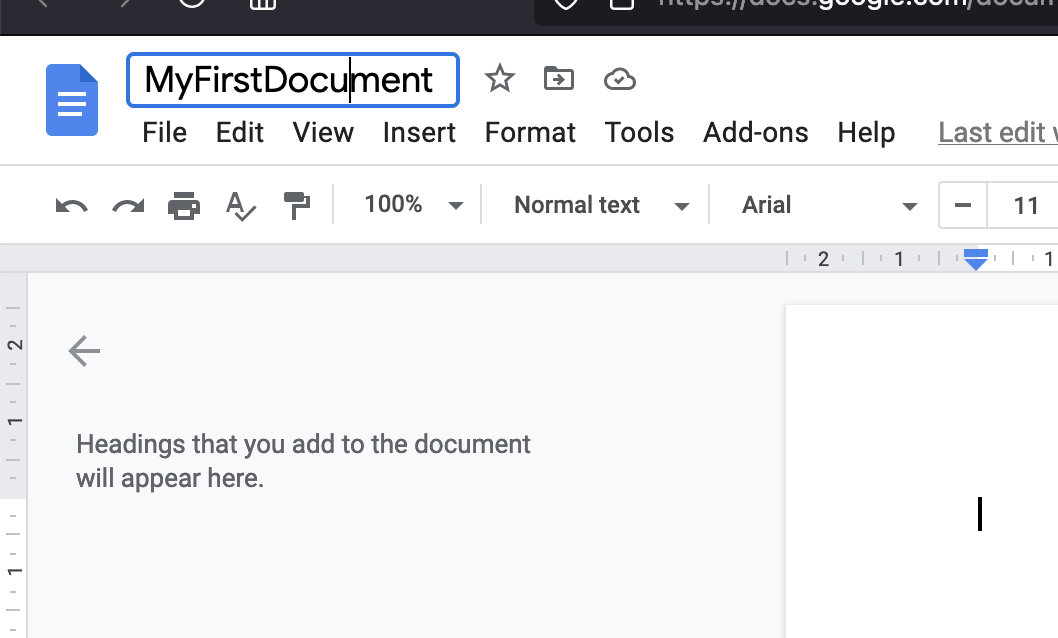
Show them how to set the name of the document in the left top text box: